

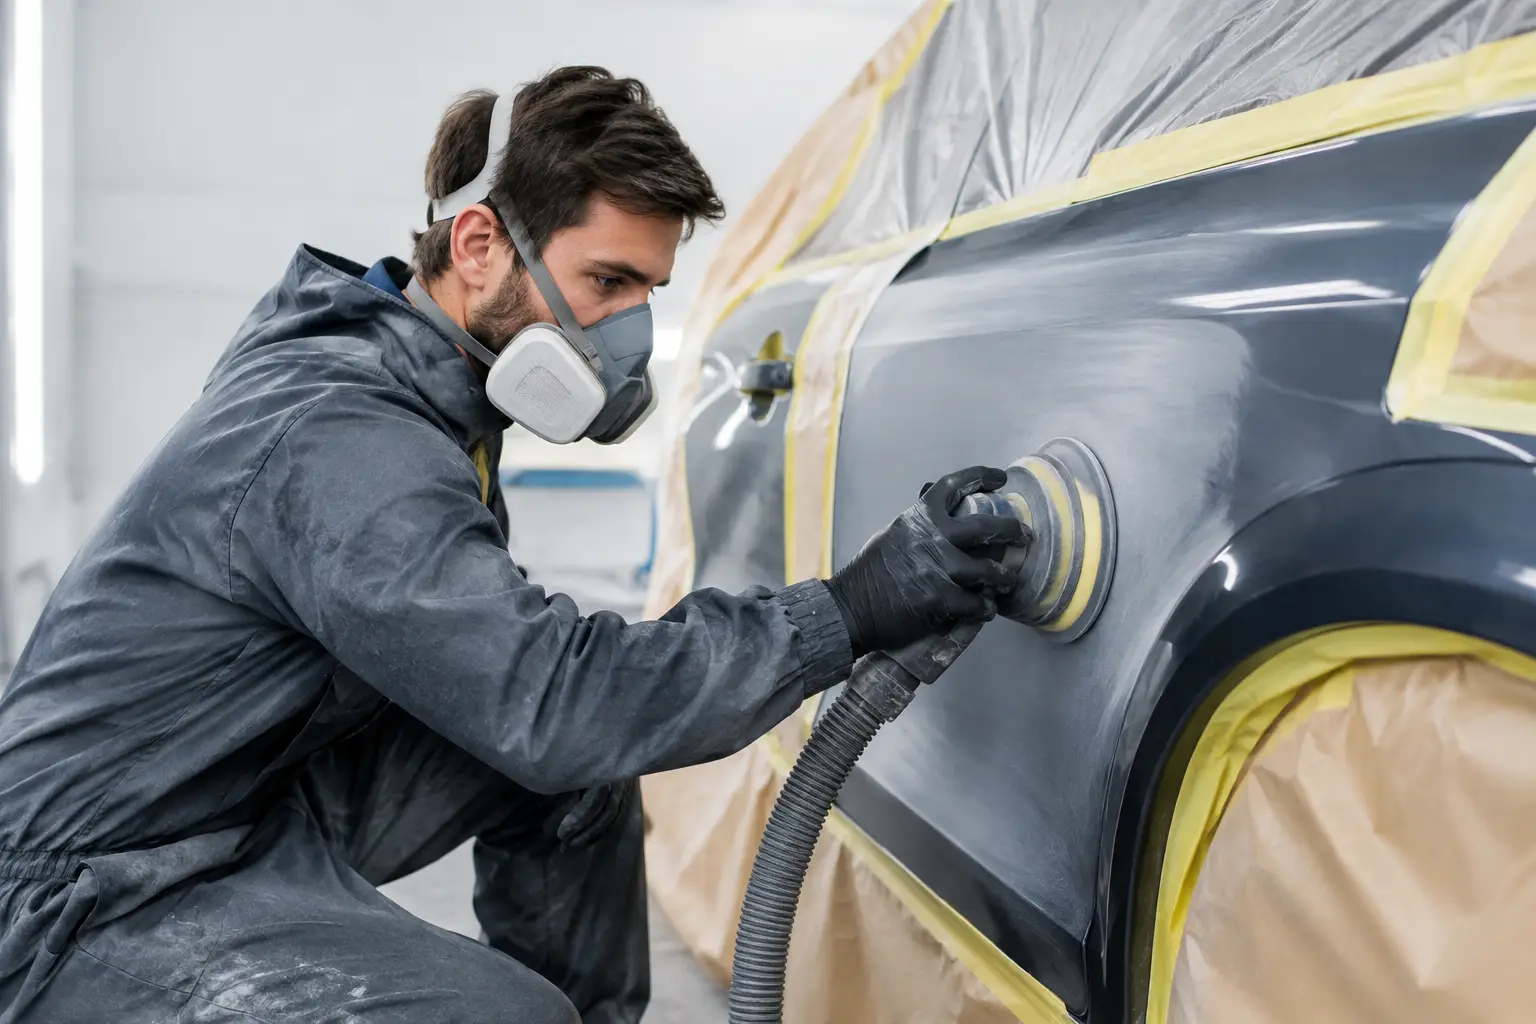
A fresh coat of paint can transform a vehicle, but the final result is decided long before the spray gun is switched on. Knowing how to prepare a vehicle for repainting helps prevent peeling, uneven colour, visible sanding marks, and other problems that can take away from an otherwise beautiful repair. Whether the damage came from a collision, road debris, rust, or years of Ontario weather, preparation is what gives refinishing work its lasting value.
At a professional body shop, paint preparation is not a quick cosmetic step. It is a careful process of inspecting damage, repairing the surface, creating proper adhesion, and protecting every area that should not receive paint. Each stage supports a finish that looks right and performs well through changing temperatures, road salt, rain, and everyday driving.
Inspect the Vehicle Before Any Paint Work
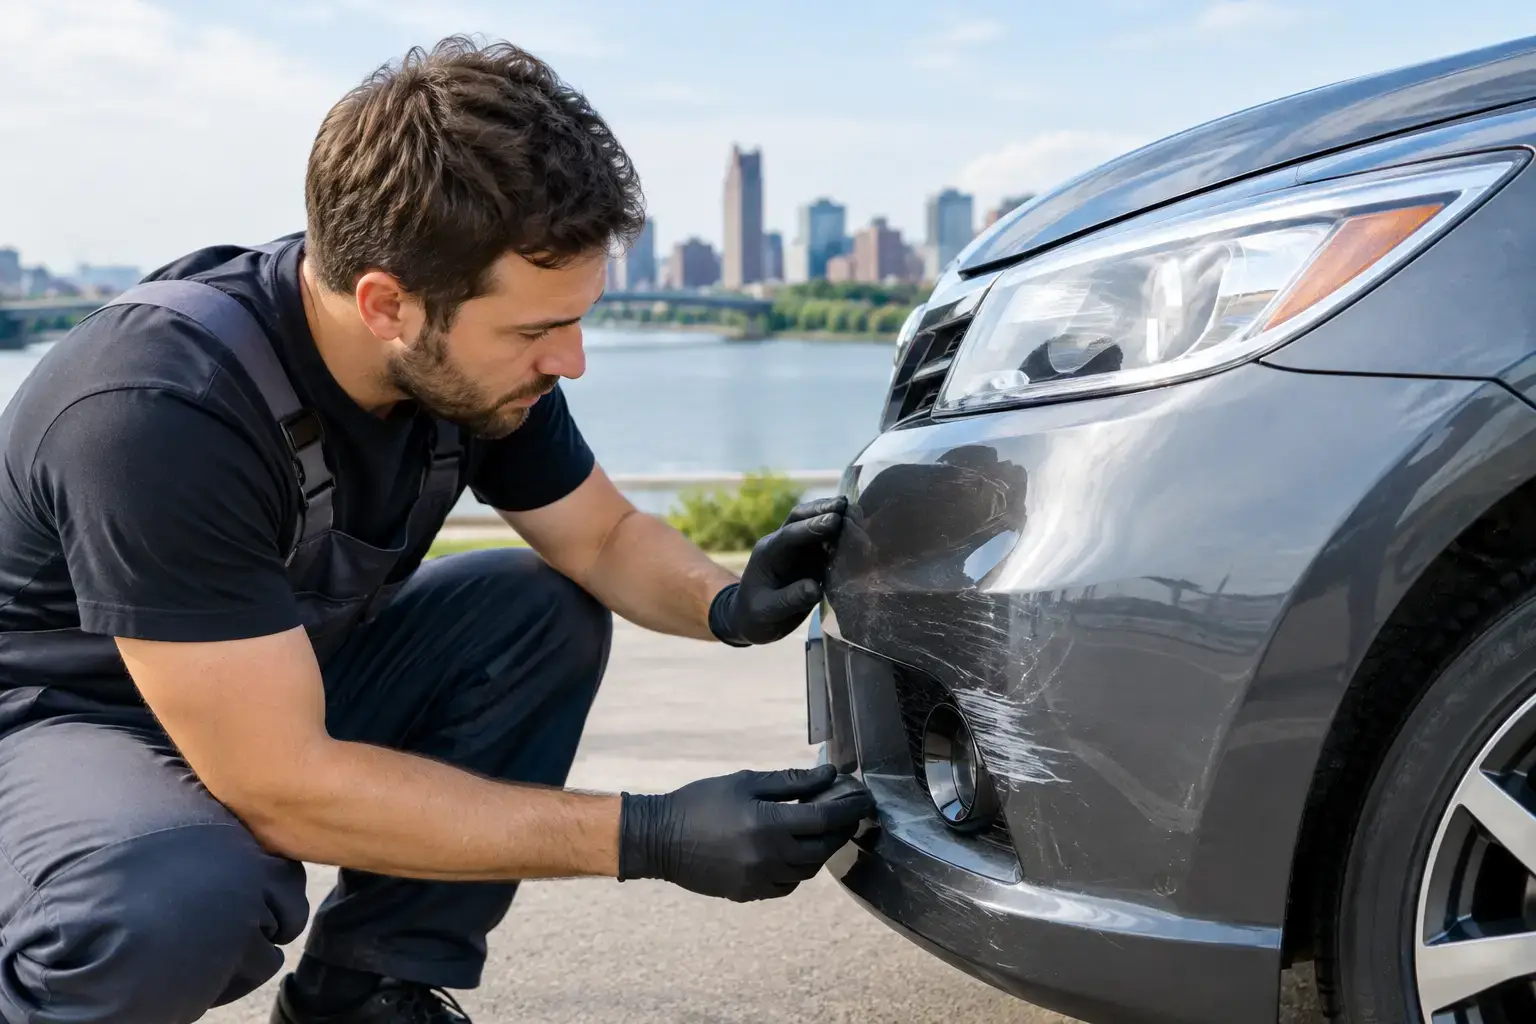
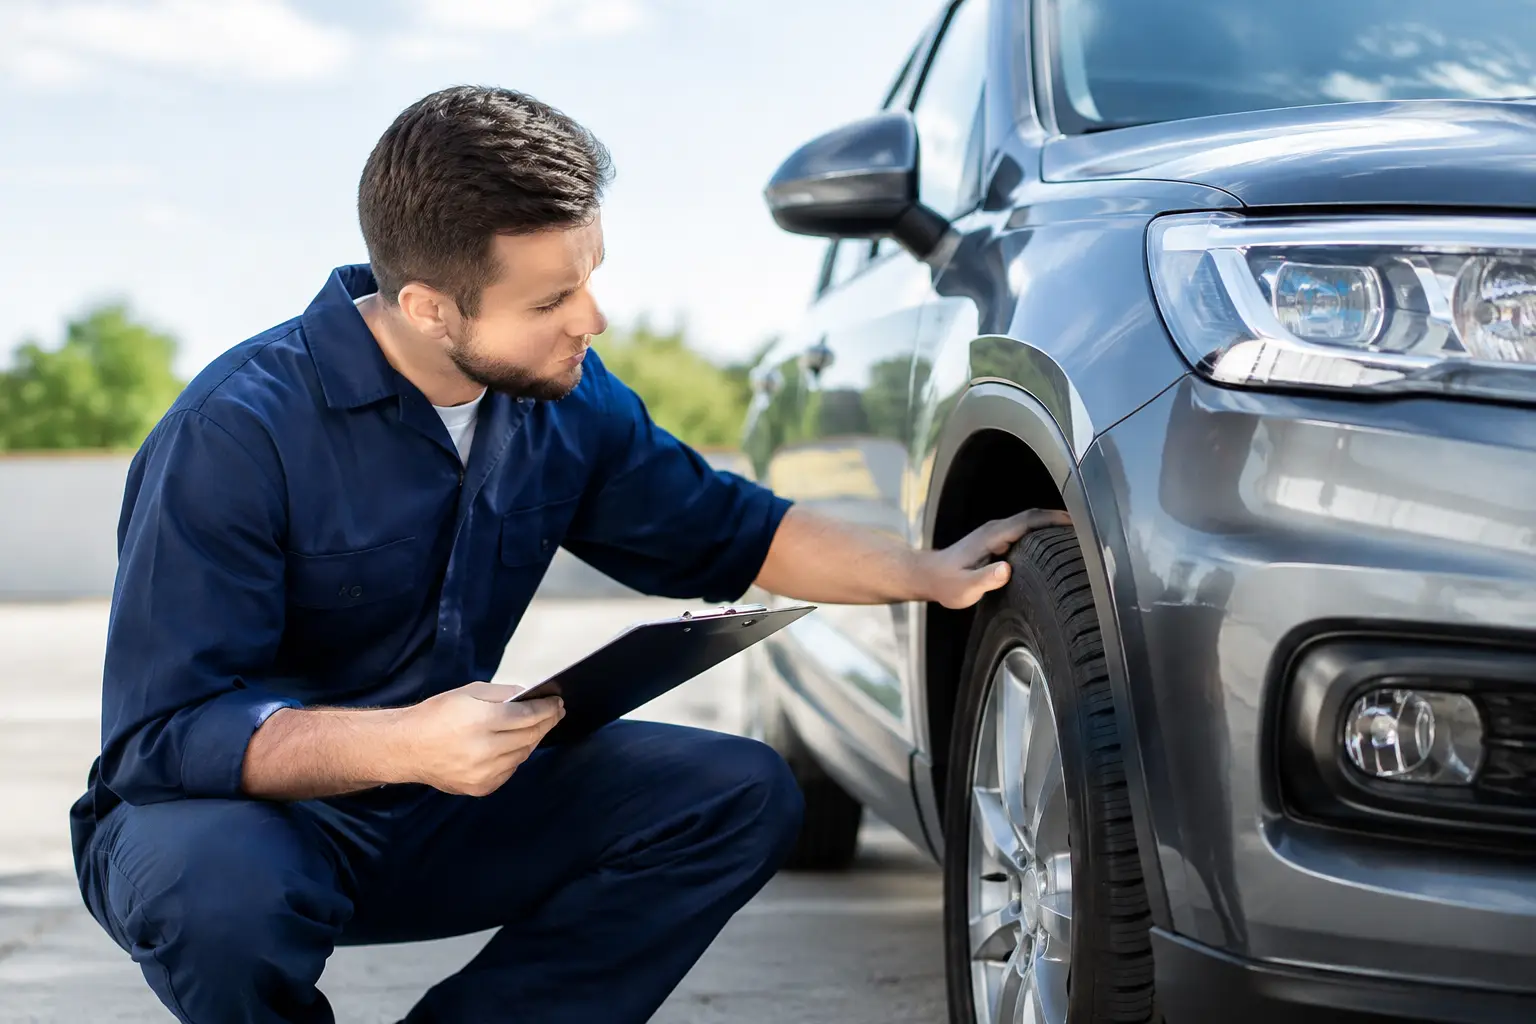
The first step is determining what is actually beneath the damaged paint. A scratch that appears minor may have cut through the clear coat and colour layer, while a dent may have stretched the metal or damaged a plastic bumper cover. Rust, previous repairs, loose paint, and cracked body filler all need attention before refinishing begins.
A thorough inspection also helps establish the scope of the repair. Repainting one small panel is different from blending paint into adjacent panels for a consistent colour match. Metallic, pearl, and tri-coat colours can be especially demanding because the paint appearance changes with spray angle, lighting, and panel shape.
If the vehicle has been involved in an accident, cosmetic damage should not be considered in isolation. Panel alignment, damaged mounting points, lights, sensors, glass, and underlying structural components may need inspection as well. A vehicle can look better after paintwork while still requiring collision repair to return it to safe operating condition.
Clean and Decontaminate the Surface
Paint cannot properly bond to a contaminated surface. Before sanding or repair begins, the vehicle needs a detailed wash to remove dirt, mud, salt, road film, wax, grease, and silicone-based products. These contaminants can cause fish-eyes, poor adhesion, or defects that only become visible after the new paint has cured.
Professional preparation commonly involves more than soap and water. A dedicated wax and grease remover is used before and during the repair process, with clean cloths changed frequently to avoid spreading contamination across the panel. Tar, tree sap, adhesive residue, and industrial fallout may also need separate treatment.
This stage matters even when repainting a small scratch. Polishes and protective coatings can migrate beyond the visible damage, and sanding over them can push contaminants into the surface. Clean first, then assess the true condition of the paint and substrate.
Repair Dents, Rust, and Damaged Materials
A quality repaint should not hide a problem. Dents must be repaired as close to their original shape as possible, using the appropriate method for the panel material and damage location. Steel, aluminum, plastic, and composite panels each respond differently to heat, pulling, sanding, and filler products.
Rust requires particular care. Surface rust may be removed and treated if caught early, but deeper corrosion can weaken metal and continue spreading beneath a new finish. In those situations, the affected area may require more extensive repair or panel replacement. Simply painting over corrosion is a short-term cover-up, not a lasting solution.
Where body filler is needed, it should be applied in controlled layers over a properly prepared surface, then shaped gradually. The goal is to restore the panel contour without relying on excessive filler thickness. Skilled technicians use both touch and reflected light to find low spots, high spots, and subtle changes that would stand out once glossy paint is applied.
Sanding Creates the Foundation for Repainting
Sanding is one of the most critical steps when you prepare a vehicle for repainting. It removes failed paint, levels repaired areas, feathers the transition between old and new coatings, and gives the next product a surface it can grip.
The correct sandpaper grit depends on the condition of the panel and the product being applied next. Coarser abrasives may be necessary to strip damaged paint or shape filler, while finer grits refine primer and existing paint before colour is applied. Moving too quickly to a fine grit can leave imperfections behind. Using a grit that is too coarse near the final stage can leave scratches that show through the finish.
Edges deserve extra attention. Paint is often thinnest on sharp body lines, door edges, and bumper contours. Aggressive sanding can burn through the existing coating or expose bare material where it was not intended. Consistent machine technique, hand sanding in tight areas, and frequent inspection all help create an even surface.
Dust control is equally important. Sanding residue can contaminate primer, settle into wet paint, and make a clean finish difficult to achieve. Professional refinishing facilities use controlled work areas, extraction equipment, and careful cleaning procedures to keep airborne debris to a minimum.
Apply Primer Where It Is Needed
Primer is not simply a layer of paint. It serves specific purposes depending on the repair. Epoxy primer can provide corrosion protection on bare metal, while high-build primer helps level minor sanding marks and surface imperfections. Plastic repair areas may require products designed to flex with the bumper cover or trim piece.
After primer is applied and cured, it is sanded again to create a smooth, uniform base for colour. Guide coats can help reveal low spots and remaining scratches during this process. Skipping this refinement may save time at first, but flaws become much more noticeable after clear coat adds shine and depth.
Not every repaint requires primer across an entire panel. If the original finish is sound and properly sanded, it may serve as a stable substrate. The right approach depends on the damage, the age and condition of the existing finish, and the manufacturer-approved refinishing system being used.
Mask Carefully and Protect Adjacent Areas
Good masking protects glass, trim, tires, lights, handles, sensors, engine-bay areas, and nearby panels from overspray. It also helps create clean paint edges in locations where panel removal is not required. Rushed masking can leave visible tape lines, overspray on rubber seals, or paint on parts that should have been removed or protected.
Whenever practical, removing certain trim pieces can produce a cleaner repair than taping around them. However, removal should be handled carefully, especially on modern vehicles with clips, cameras, radar components, wiring, and fragile mouldings. The best choice depends on the vehicle design and the extent of repainting.
A professional repair also considers colour blending. Rather than creating an obvious edge in the middle of a panel, technicians may blend colour into an adjacent panel and clear coat the complete panel for a more natural appearance. This approach can require more preparation, but it often delivers a better match, particularly with difficult colours.
Confirm the Colour and Painting Conditions
Vehicle paint codes are a starting point, not always the final answer. Sun exposure, age, previous repairs, and normal production variations can cause the same factory code to appear slightly different from one vehicle to another. Colour matching may involve spray-out cards and tint adjustments before the paint is applied to the vehicle.
The painting environment matters too. Temperature, humidity, ventilation, and cleanliness affect how paint flows, flashes, and cures. A controlled spray booth helps reduce dust and provides the conditions needed for consistent results. This is one reason driveway repainting often struggles to match the durability and appearance of professional refinishing.
Before painting, the prepared area receives a final clean with the correct products, followed by a tack cloth to remove fine dust. At this point, every repair edge, panel contour, and masked boundary should be checked one more time. Once colour and clear coat are applied, correcting missed defects becomes more time-consuming.
Know When Professional Preparation Is the Better Choice
Small touch-ups may be manageable for an experienced vehicle owner, especially where appearance is less critical. Full-panel repainting, collision-related repairs, rust treatment, and modern colour matching are different matters. They require the right equipment, approved materials, proper safety protection, and a controlled environment.
For Hamilton drivers, ASC Auto Body & Sales brings more than 20 years of precision-focused collision repair and refinishing experience to this work. A professional assessment can identify whether the concern is limited to paint damage or whether the vehicle needs body, glass, mechanical, or safety-related attention before it returns to the road.
The best repaint does more than cover a scratch. It starts with a surface that has been repaired correctly, cleaned thoroughly, and prepared with care. Giving preparation the time it deserves helps protect your vehicle’s appearance, supports long-term durability, and makes every finished panel look closer to the way it should.